Blog

Quote accepted Lutie Katz: Koot and Tersia- Garden finished

Yzer Gardens/Landscaping/Yzerfontein/West Coast/Langebaan/Malmesbury/Vredenburg

Proposed design and pattern…

Quote accepted…!

1538502194393Yzer Gardens/Landscaping/Yzerfontein/West Coast/Langebaan/Malmesbury/Vredenburg1539017972425

Yzer Gardens/Landscaping/Yzerfontein/West Coast/Langebaan/Malmesbury/Vredenburg

IMG_20181016_175001.jpg

IMG_20181016_174758.jpg


IMG_20181106_121322

IMG_20181115_111124.jpg


Worried about the Garden Design process…?

With Creative Inspirations your are in good hands!

Every Client has there own tastes, styles and preferences, therefore we treat every client uniquely. The design process stays the same but the design style, tastes and preferences stays unique to each and every client of ours.

We want to see happy and satisfied clients and that’s why we take our client’s needs to heart…! We take great care to listen, advise and assist our clients in all of their needs.

Our garden design process and consultations are simple but efficient… We take time to understand what our clients want then together with our ideas implement beautiful designs and plans.

Worried about the costs…?

We work according to our clients budget.

Our plans and designs are also adaptable. We work and design according to your budget.

Garden design and Landscape construction is only as expensive as your budget allows.


Scared of artificial grass…?

IMG-20180109-WA0001.jpg

This garden area was previously fully grassed but during the inland drought of 2016 the grass died off and we had to do something that could withstand the drought. We had a limited budget and used pavers that was lying around… We decided to do a checkers board effect by combining the pavers with artificial grass. The outcome of the effect not only looked great but was for the long term. Look how the grass softens the hard landscaping. We edged the garden beds off with 10 by 20Cm cobble stones. We planted 4 standard Syzigiums and the ground filler used was Star jasmine. We decided on the Star Jasmine because of the scent, being close to the kitchen and living areas it creates a lovely aroma thereby stimulating the senses in more ways than one.

Have a look at the bottom pics…

Big and bold curves… rounded off with cobble stone edging.

download.jpg9

Works well in small spaces…

2

Another combination with flagstones… This time the flagstones are placed diagonally. Look how it forces the eye to look forward towards the back of the area. The white green combo works well here and the grass also softens the hard landscaping. Now imagine the space without the greenery. Although artificial it still carries the same properties of grass but with zero maintenance…

1

Last garden in Harties- Acacia Street Xanadu

Creative inspirations recently moved from Harties to Yzerfontein. Here’s some pics of our last garden we did in Harties. Thanks Ashley we had good time working with you guys.

Ashley’s brief was simple -a Formal garden that will compliment the architecture of the house.

20180410_141430.jpg

Formal designs align itself with symmetry, straight lines and repetition. Here James is busy planting the Viburnum Sinenses  hedge.

20180410_151919

We used a three tier design, very common in formal designs. Double hedging- The large leaved viburnum at the back and the finer leaved Duranta sheena’s gold is the front hedge. visually the green and lime colours creates a nice contrast. Leave texture also plays an important role here.  Here (top picture) Auswin is busy planting the sheena’s gold.

20180412_111425.jpg

Planting finished- the three tier design is finished off with Festuca’s, the ornamental grass in front of the Sheena’s gold. The line of festucas will soften the hard edges of the hard hedge lines together with the cobble stone edging.

In this design the African olives provides some height in the background and also screens of the neighbouring  houses. To compliment the Tuscan architecture we planted a line of white standard Icebergs and the red Satchmo Roses. This also becomes part of the decorative framework and fills up the medium height space.

The square planter boxes we created with the viburnums around the olive trees are not so evident in the pictures but creates some further interest. Inside these boxes we planted Gaura lindheimerii ”Butterfly bush” which also softens the edges and creates some movement in the design as the it sways back and forth in the wind.

20180419_114832.jpg


The braai entertainment and seating area…


20180419_114835.jpg

From the balcony- the Entertainment area. The grass received a top dressing to even out any bumps that was left after the installation. Note lovely views of the mountains…!

20180419_114839.jpg

Three huge pots creating not only an accent point when you drive up the driveway but also devides the driveway from the garden area. Use pots always in uneven numbers…


20180410_141411.jpg

We decided to make a big rose bed to compliment the 3 pots.  On the pic above we are busy planting white and Pink Iceberg Floribundas. Later we decided to plant so some filler plants just to cover the bare soil for the time being.

Usually a garden installation like this one takes us a around 2 weeks to install and can take about 2 years (except for the trees) to reach a mature stage. Formal Tuscan designs use strong and bold lines and colour and has a less is more feeling. This garden design is relatively low maintenance…


dfff


Lawn Installation Doxa Deo Hartbeespoort Pre Primary

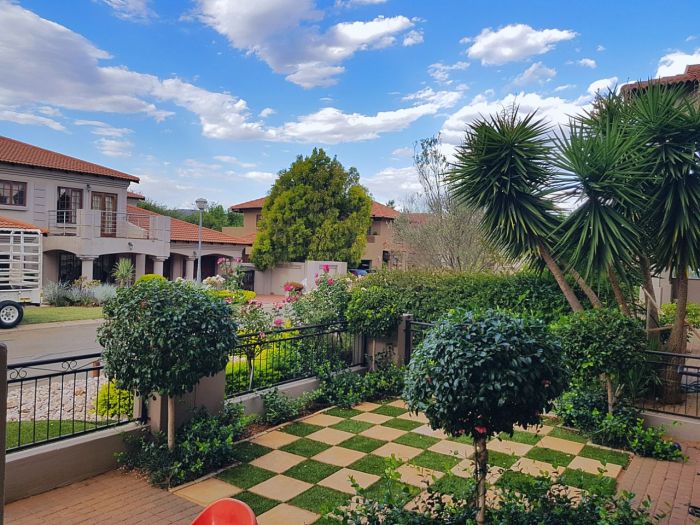
Doxa Deo pre-primary Hartbeespoort. The lawn for the play area was installed some time before the image was taken. Under pressure we had 3 days to clear the area and install the 2000sqm lawn. Thankfully we had the help of an earth works masjine to assist us in clearing the area.

The grass was supplied by Eco Organics.

images (44)

Tips on installing new lawn

Soil preparation is very important. Clear the area of existing grass, weeds, large stones etc.  Have a proper look at the soil condition. If it’s well leached it might be a good idea to lay down a 2 to 3 cm layer of new top soil or a landscaper mix (top soil mixed with compost). If the soil looks manageable you can work in some compost and mix with the soil. This will enrich the soil and help to retain water.

Tilt and loosen the soil to a depth of around 10cm. This will encourage better root growth and help to establish the grass. Remember the roots are the base of any plant. Healthy roots stimulates good top growth.

images (45)

Rake out and level the soil. Don’t step or walk unnecessarily over the prepared area. You want a loosened but firm surface to lay the new lawn over. Sprinkle water over the area. You don’t want to waterlog the area just enough to dampen the area.

Now is the time to sprinkle your fertiliser over the prepared area. We generally use Super phosphate from wonder but if you don’t have dogs you can also apply bonemeal. It’s important that the fertiliser comes in direct contact with the roots. This will stimulate and encourage good root growth.

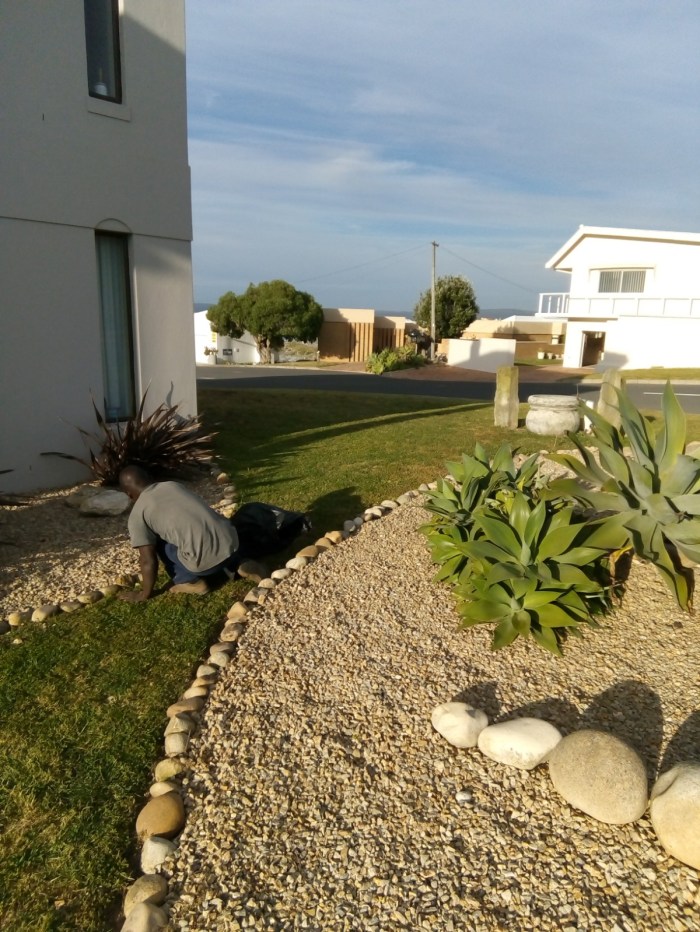
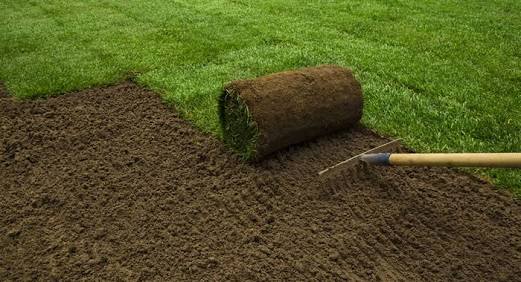
Now that the soil preparation has been done it’s time to lay the lawn. This is the easiest process of the whole installation. Just ensure that they are tightly  packed and firmed down. Depending on the area and weather conditions it is a good idea to water the already layed areas as you progress. Just use your average run of the mill hosepipe and sprinkle head and shift it along. It will save time.

images (46)

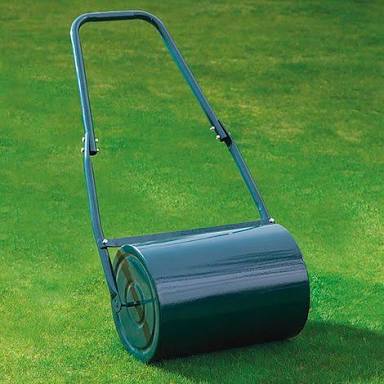
Once layed make sure the whole area has been watered thoroughly and roll with a grass roller. If you don’t have one you can pop in at your local plant and tool hire company. They usually have in stock. You can rent a roller for less that R100 per day.

The roller helps to even out the area and to roll out air pockets. I believe in a lot of water the first 2 days. Afterwards I’ll wet-test the soil with my finger. I only then water if the top layer of soil has dried out.

20180419_114839

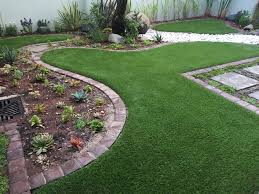
After the first cut it is a good idea to top dress the soil. We use a 50/50 landscaper mix. 50 parts top soil and 50 parts fine compost.  This helps to level out uneven areas and gives the grass a boost. After the dressing you’ll immediately start seeing the grass turning that healthy dark green colour –  Look at pic above

Keep grass moist and regularly fertilise, once every 4 to 5 weeks will do. Weed maintenance is important so remove weeds and wild grass such as couch grass on a weekly basis.

Happy Gardening…

Numida Park No 1

Creating interest with bold patterns and levels 

This roadside garden was designed using basic design principles  to utilise the small space to its maximum. We designed the space using a 3 semi circle pattern. The design is bold and striking using areas of different levels to create space and interest. The design could easily be utilised in many different areas and ways.

The two sloping semi circles on the sides was raised 1M of ground level and perfectly frames the accent point which is a cascading water fountain painted deep red for contrast.

The centre semi circle was raised by about 70 cm of the ground and hold firm by a gabion structure. The gabion was constructed out of galvanised mesh and slate stone from the area.

The lawn and bedding area was rounded of with 100mm×100mm cobbles stone from Ascot stones. The lawn was supplied by Peet of Rooiberg instant lawn.

The bedding area consists of Hemerocallis Day Lilies in front of the centre semi circle. Against the boundary wall we planted white Iceberg Standards and pink Rina Hugo standard roses. The Rina Hugo roses starts of dark pink and as the flowers mature it turns to a burgundy colour.  Front of the bedding we planted a Durantha Sheena’s Gold hedge and for a decorative fill in plants we planted Gaura at the back.

The design is bold and dramatic using simple design elements to create interest. The plant combination is less is more (repeating a few plants through the whole design).

The plants was supplied by Coderosa.

The space is fully irrigated.